|
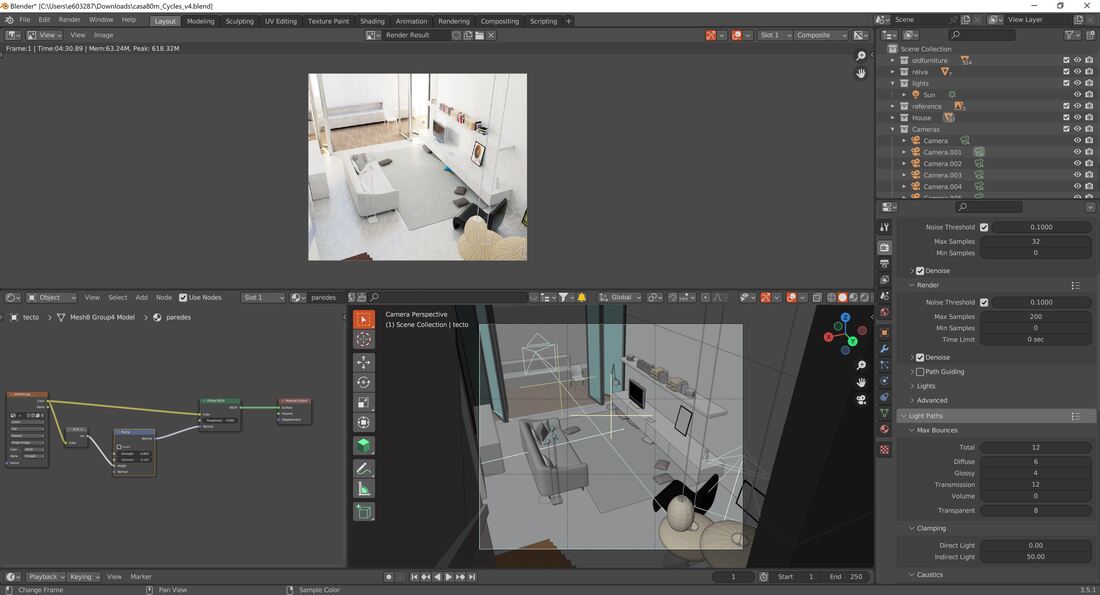
Blender, the incredible 3D modeling software, has taken the architectural visualization world by storm! 🌪️ With its versatility and advanced features, Blender empowers architects and designers to craft breathtaking visualizations that bring their designs to life. In this blog post, we'll explore 5 essential tips that will take your Blender skills in architectural visualization to new heights. Let's dive in! 💪 1. Organize your workspace 📐🖥️ To unleash your creative prowess, start by organizing your Blender workspace. Customize the interface by rearranging panels and windows to suit your workflow. 🎨 Embrace Blender's organizational features by utilizing collections to group related objects, following smart naming conventions for objects and materials, and establishing a logical folder structure for your project files. A clean and tidy workspace sets the stage for efficiency and productivity. 2. Use accurate measurements 📏🔍 In architectural visualization, precision is paramount. Ensure your models are accurately scaled by using precise measurements. Blender offers built-in measurement tools, or you can import measurements from CAD files or architectural drawings. 📐 By nailing the correct scale, your visualizations will faithfully represent real-world structures, impressing clients and collaborators alike. 3. Create realistic materials 🎨✨ Bring your architectural designs to life by mastering the art of realistic materials in Blender. The material editor is your gateway to a vast array of textures and effects. 🌟 Enhance the authenticity of your materials by adding textures and leveraging Blender's node-based material editor to create complex and captivating material compositions. From concrete to glass, let your creativity flow! 4. Use lighting effectively ☀️💡 Lighting plays a pivotal role in architectural visualization. Blender's robust lighting system empowers you to create stunning lighting effects, whether it's the warm glow of sunlight or the enchantment of artificial illumination. 🌅 When setting up lighting, consider the building's location, the time of day, and the specific mood you want to evoke. For that extra magic, leverage Blender's compositing tools to enhance your lighting in post-processing. Illuminate your designs with brilliance! 5. Use camera settings effectively 📷🎞️ The camera is your ultimate storytelling tool in architectural visualization. It determines the composition and perspective of your final image, and thus, it must be wielded with care. Consider factors such as camera height, position, focal length, and aspect ratio to create realistic and captivating visualizations. 🌆 Let your camera capture the essence of your design, guiding viewers through an immersive visual journey. In conclusion, Blender is a powerful ally for architectural visualization, and these 5 tips will elevate your skills to new heights! By organizing your workspace, using accurate measurements, crafting realistic materials, leveraging effective lighting, and mastering camera settings, you'll unlock the full potential of Blender as a tool for architectural visualization. Embrace these tips, practice with passion, and let your architectural visions flourish in the digital realm! Happy blending! 🎉✨
0 Comments
Sometimes a client will ask to place their project on the real context, so he can have a better understanding of the project relationship to it's location So we will need to add that context to our ArchViz model in Blender. There are add-ons to import open-street data and terrain into Blender but there is a more cost efficient way to do that. I made a small video to show that.
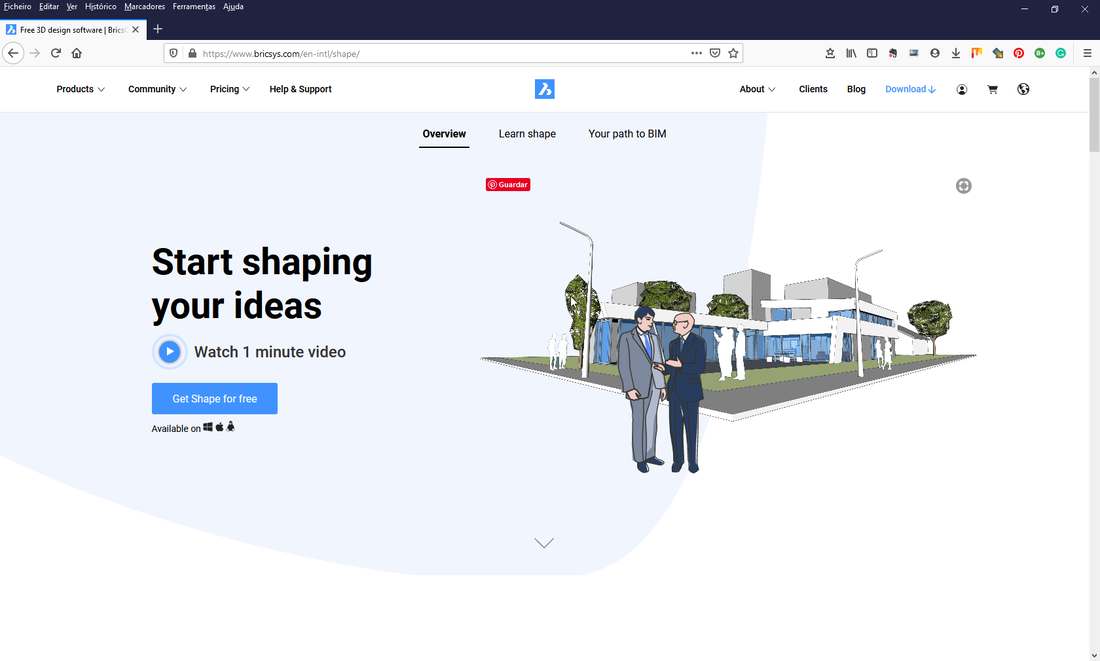
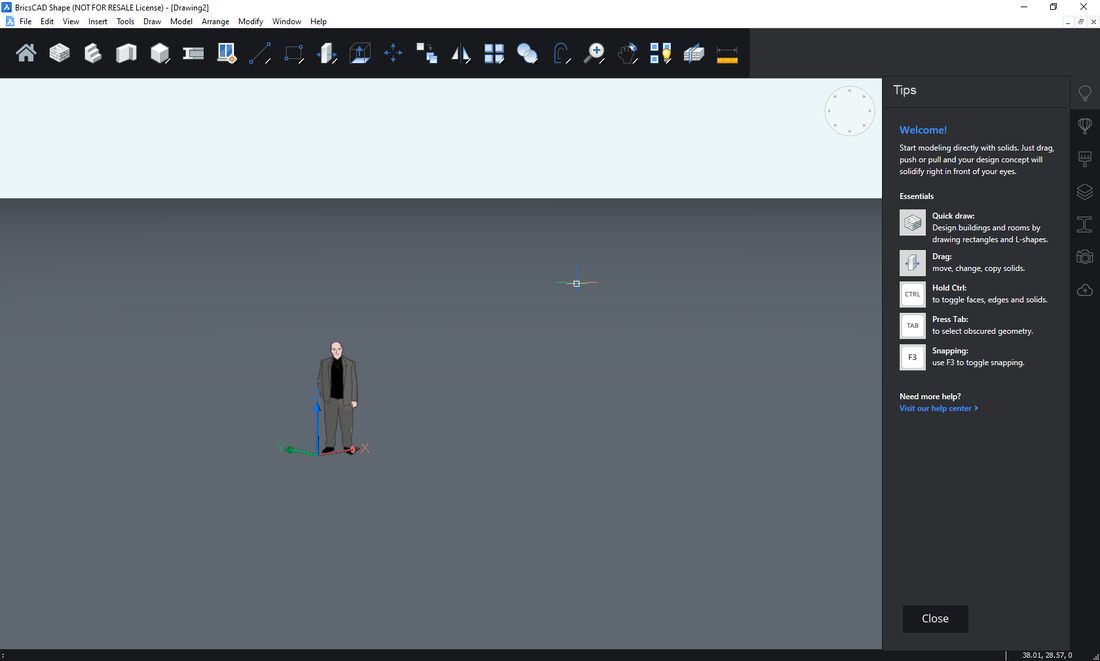
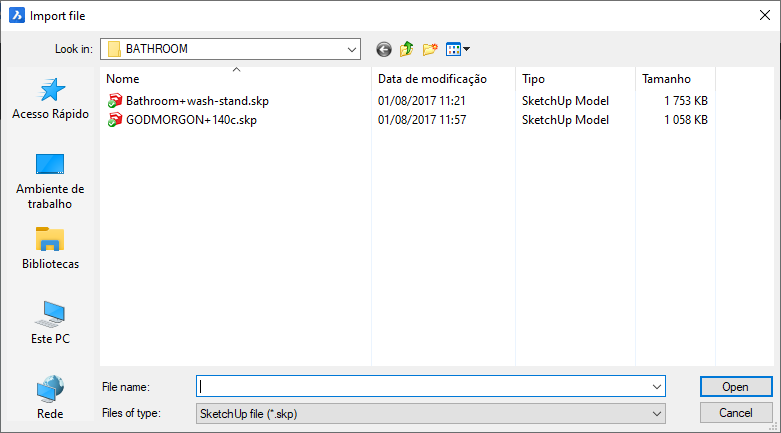
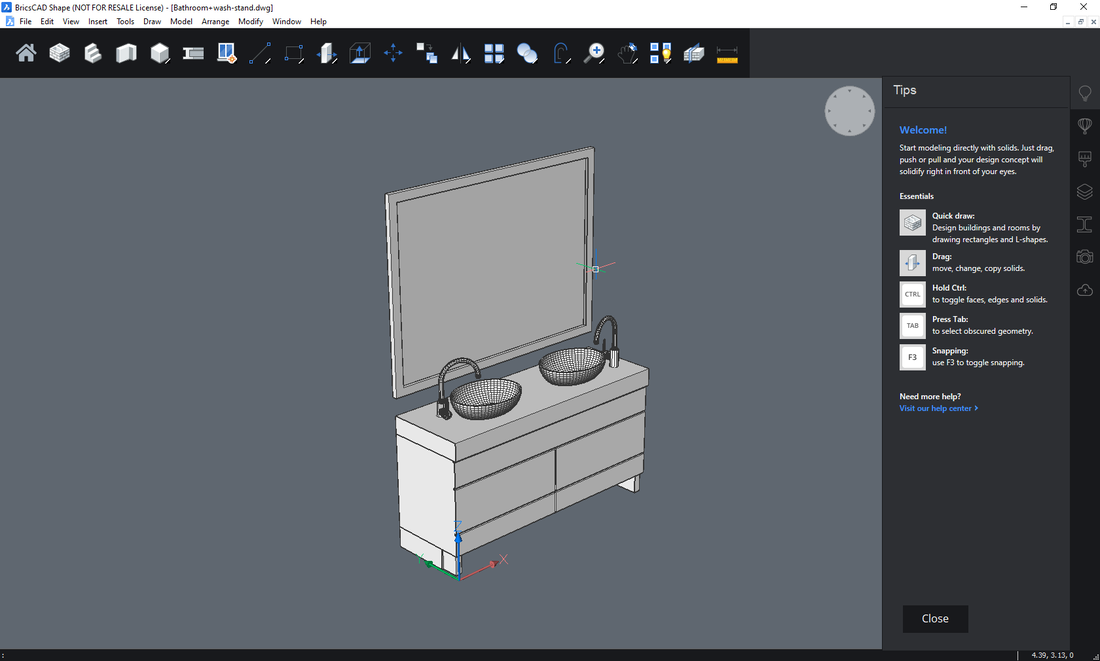
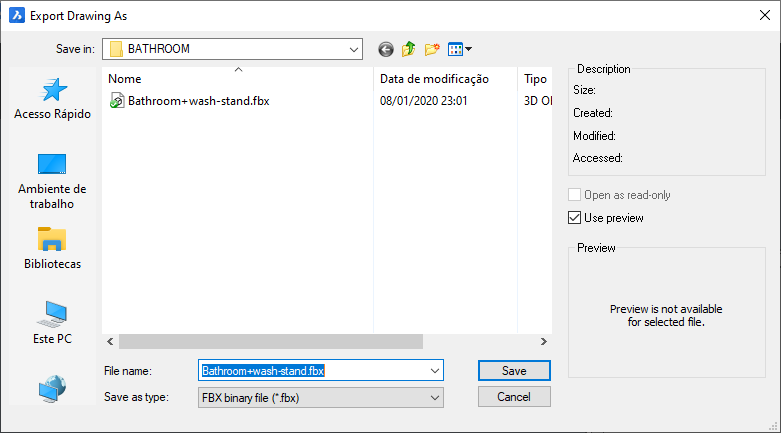
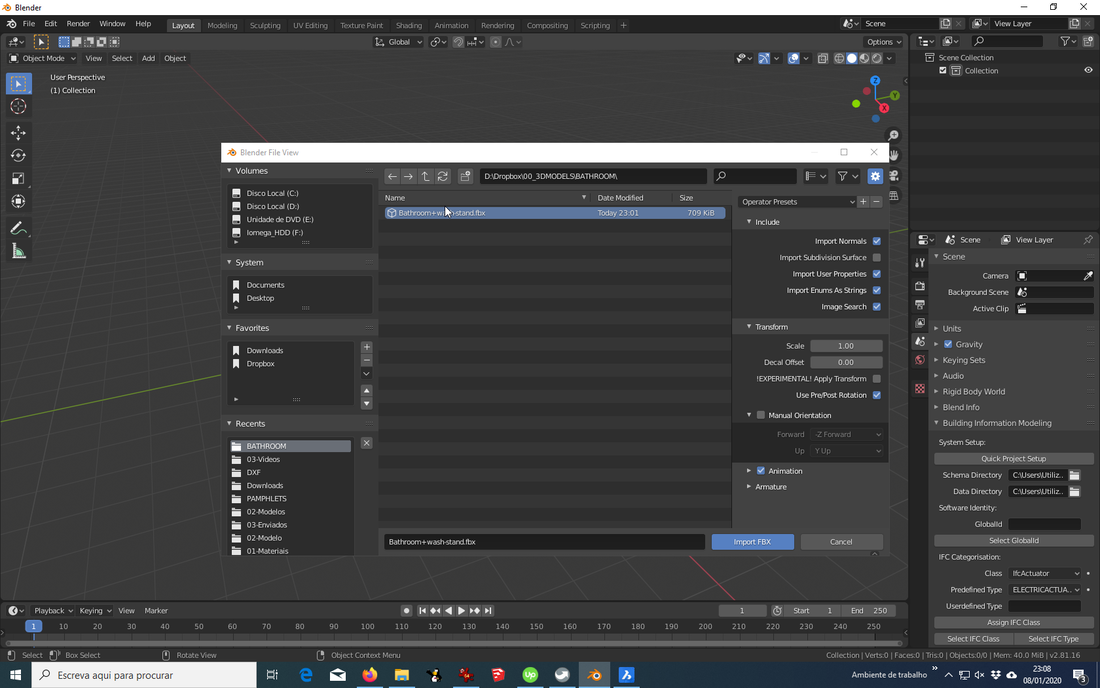
I hope it's useful to somebody. Sketchup as been a software used by architectural firms for a long time because of its ease of use. Also Sketchup has a enormous library of free 3d models called 3dwarehouse. This are the two reasons why we need to bring Sketchup files into Blender. Sometimes we receive the building model in skp from the client and we need to continue working on it or we want to use something fast from the 3dwarehouse. If you have Sketchup i found that exporting as obj works great with Blender. But since the last versions of Sketchup are paid and some people don't have how do you do it? I found a software that it's very handy when it comes to file conversions and it's free. It's BricsCAD Shape. It's the little brother of the BricsCAD software family. You can download it here: https://www.bricsys.com/en-intl/shape/ The BrisCAD software includes CAD and BIM but for early stage concepts they have BrisCAD Shape. With a very similar interface to Sketchup, it wants to be it's competitor in the Architectural Design field. The main advantage for us it's is ability to import SKP files from any version. And export them as FBX. Then just import into Blender. The materials get lost but all the geometry is imported and we can easily make our materials in Blender. This software is great to convert various formats into files that Blender can read.
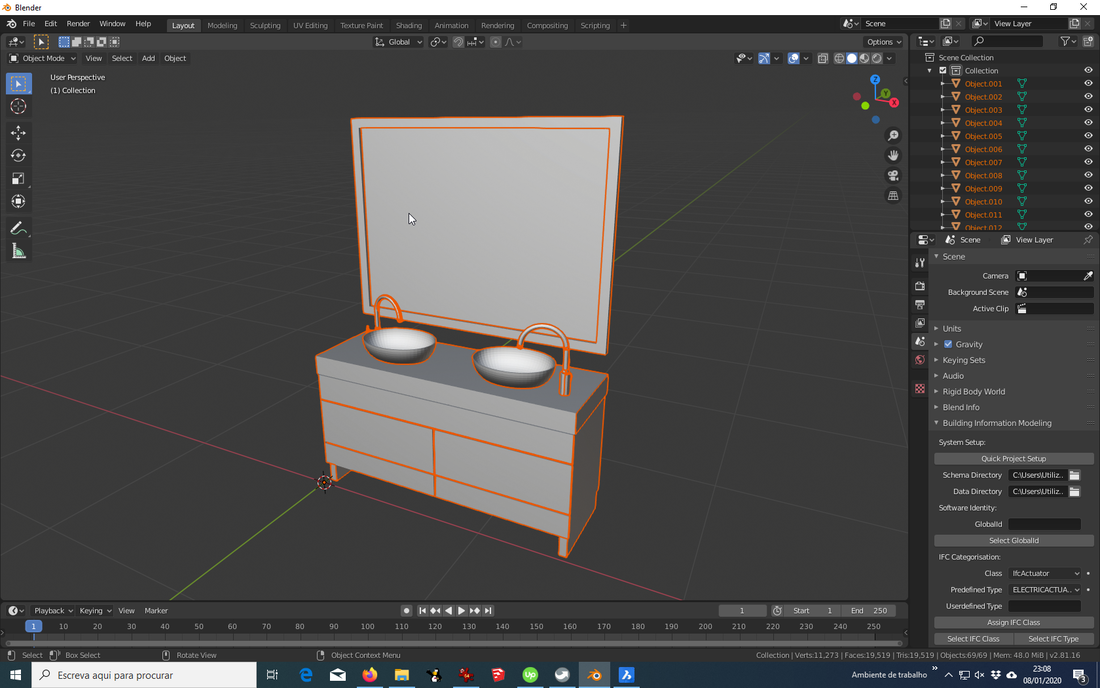
BricsCAD Shape can open: DWG, DXF, and DWT BricsCAD Shape can import: SKP BricsCAD Shape can export: FBX (Binary and ASCII), BMP, STL, and DAE Go try it out! 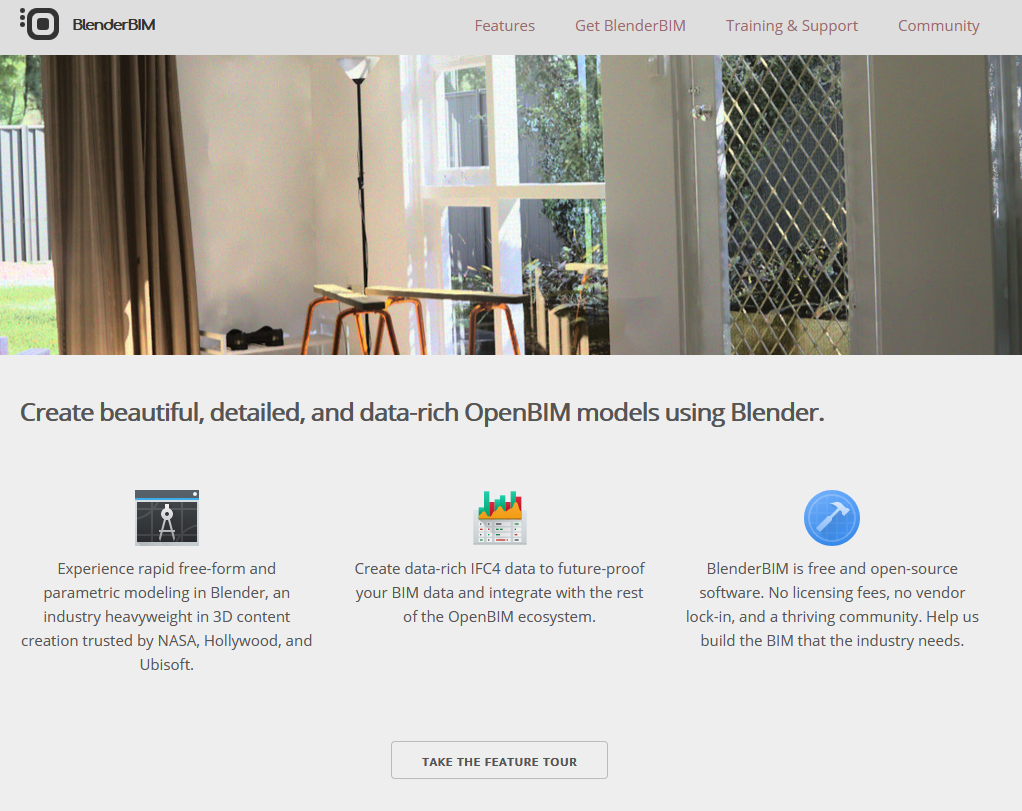 For those of us that work in the architectural field, BIM as become the buzz word for some time. More and more professionals are working in BIM. BIM stands for building information modeling and is a type of software technology that allows building design professionals to design, construct, test, and manage new infrastructure. Building information modeling, generates a 3D representation of a physical structure and all of its characteristics. BIM software products are frequently used in the architecture and construction industries because these industries are entirely focused on building large structures. Since these industries make up the vast majority of BIM software users, these solutions tend to offer tool sets specifically for users in these fields. BIM tools are popular in these industries because its 3D design capabilities take drafting a step further than traditional 2D design. BIM software allows users to visualize what their buildings will look like upon completion. What does this have to do with Blender? Well, generally speaking BIM software is a software that can export and import IFC files and can also do IFC Categorisation. There's a new project called BlenderBIM that it's bringing BIM capacities to Blender. After installing the add-on you are able to import and export and import IFC files as well as categorize 3D elements with IFC classes that other BIM software can read. Here's a little tutorial in the BlenderBIM site: blenderbim.org/blenderbim-tutorial.html Someone working in Architectural Visualization doesn't need to worry about the architect working in Revit, Archicad and so. Just ask them to export the project to IFC and you can have the 3D model of the building inside Blender. Another great add-on from the Blender community! I've being using Blender for Architectural Visualization for years and now I felt that it was time to give something back to the Blender community.
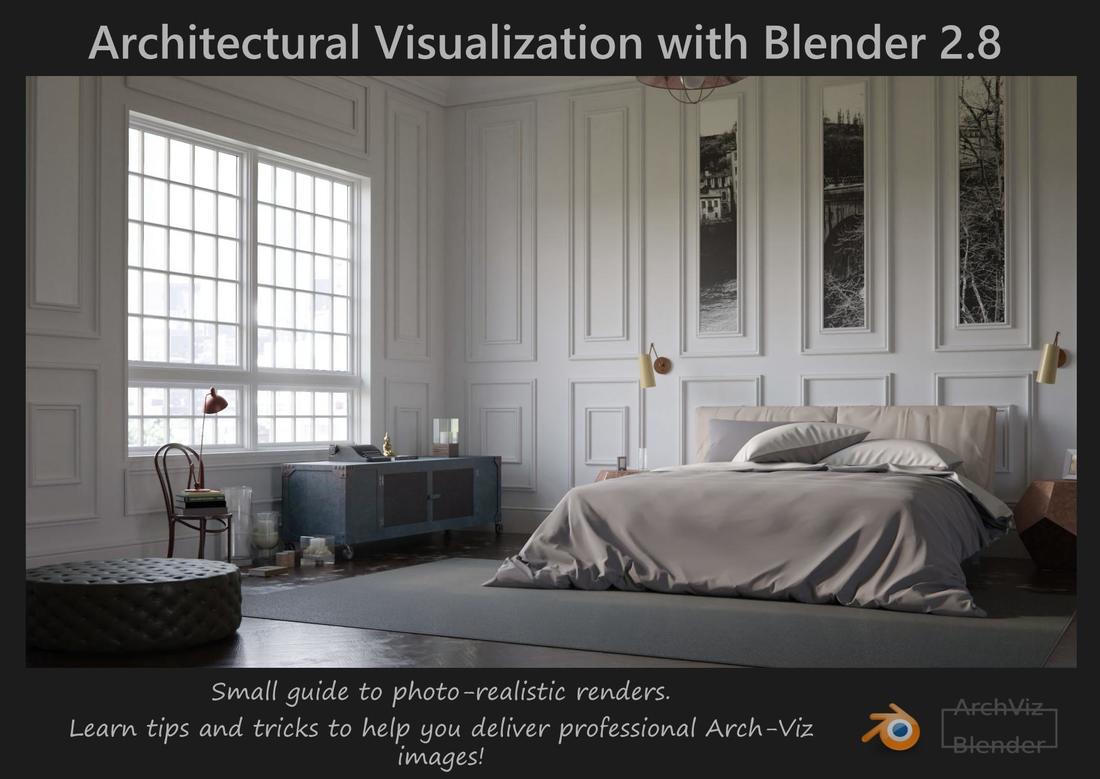
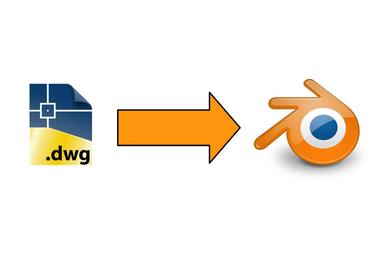
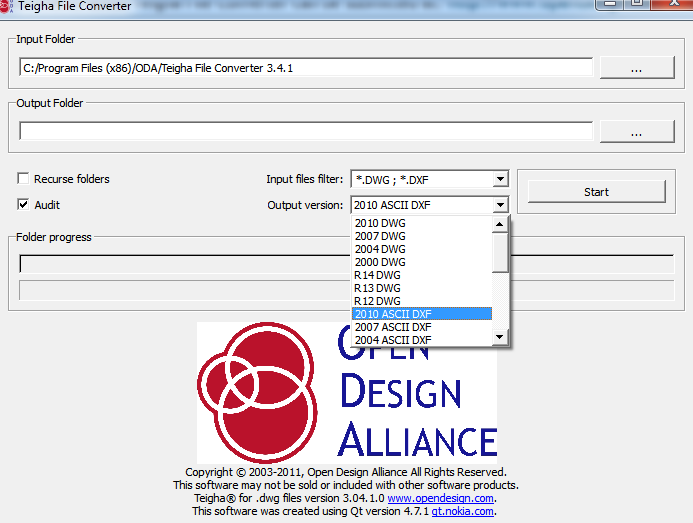
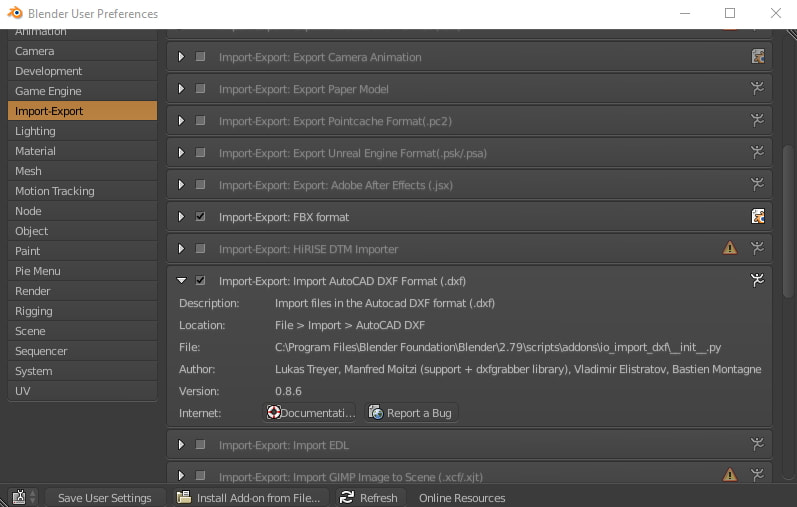
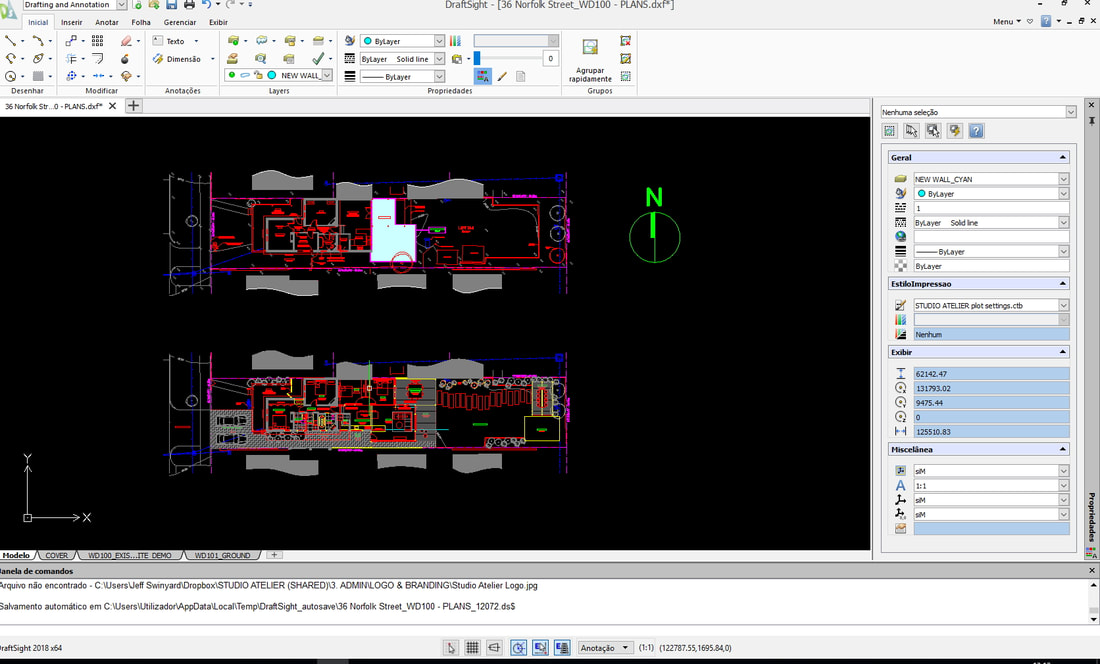
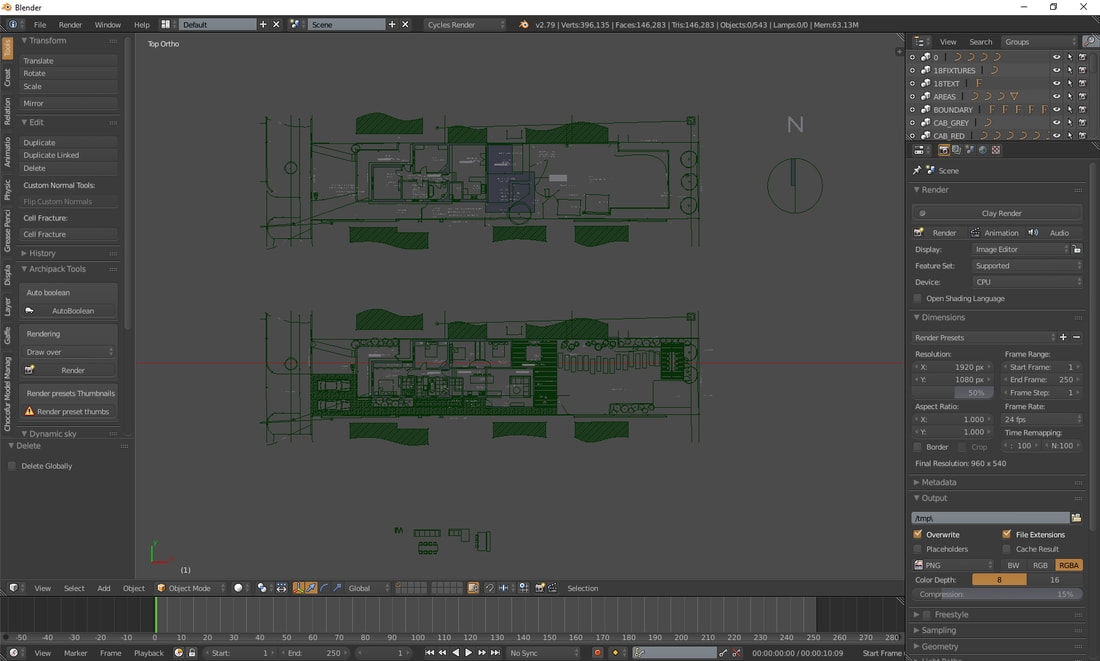
With that in mind, I started to write a small guide with information that I learned over the years and that I found all over the internet. I didn't want it to be a heavy read with all the buttons to push but rather something that has those small things that many people overlook in the beginning and make all the difference in getting good results. This was the kind of information that i wished i stumble upon when i started years ago. I really hope this eBook can help someone in their pursuit for getting better renders. You can get the free eBook subscribing to my mailing list. In the line of the previous post I'm going to continue to show how to import various file formats into Blender. In this case I'm going to talk about the most common that an Arch-Viz artist can receive from clients. It's the DWG from AutoCad, that usually comes with the 2D plans and elevations of the building. The DWG format is a closed source binary file format that is not directly supported by Blender. It requires an external 3rd party file converter to first convert then into DXF. The first software that I use for converting DWG into DXF is the ODA Converter (formerly Teigha Converter): https://www.opendesign.com/guestfiles/oda_file_converter The ODA Converter is a small freely available utility that allows to convert between several versions of DWG and DXF files. Blender can import DXF. The DXF format that gives me the best result importing into Blender is the R13 ASCII. In Blender you have to enable the DXF import addon in if it doesn't appear on the import menu. Another software that can be used to convert DWG files is a free commercial program called Draft Sight (http://www.3ds.com/products-services/draftsight/overview/) that can import most DWG files and can save and export in formats that are friendly to Blender. Draftsight runs on
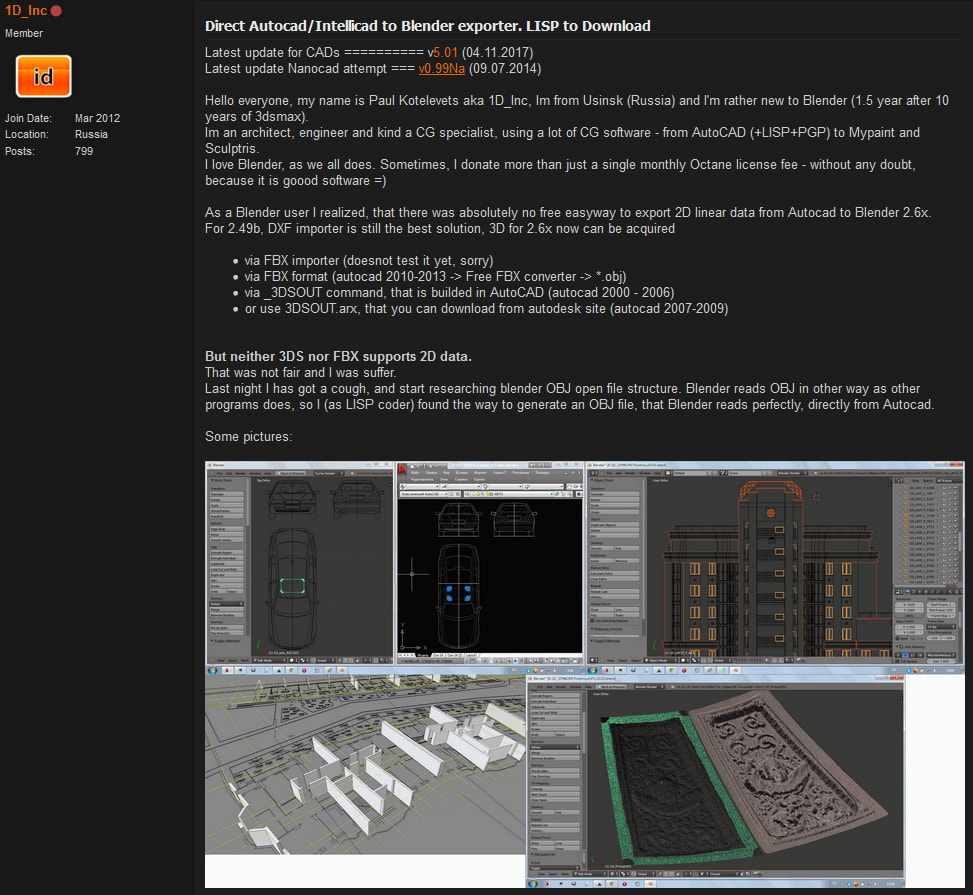
Save the DWG as R13 ASCII DXF and then import into Blender. Then you can start the modeling! Another way to import the information of a DWG file into Blender is if you have access to a commercial license of AutoCad, Intellicad or NanoCad. Then you can use a lisp routine that was made by 1D_Inc in Blender artists forum. https://blenderartists.org/t/1d-scripts-bargool-1d-tools-main-thread/668937/2 The routine runs inside AutoCad, Intellicad or NanoCad and exports the content of the dwg file as a OBJ file that Blender can easily import. Happy Blending!
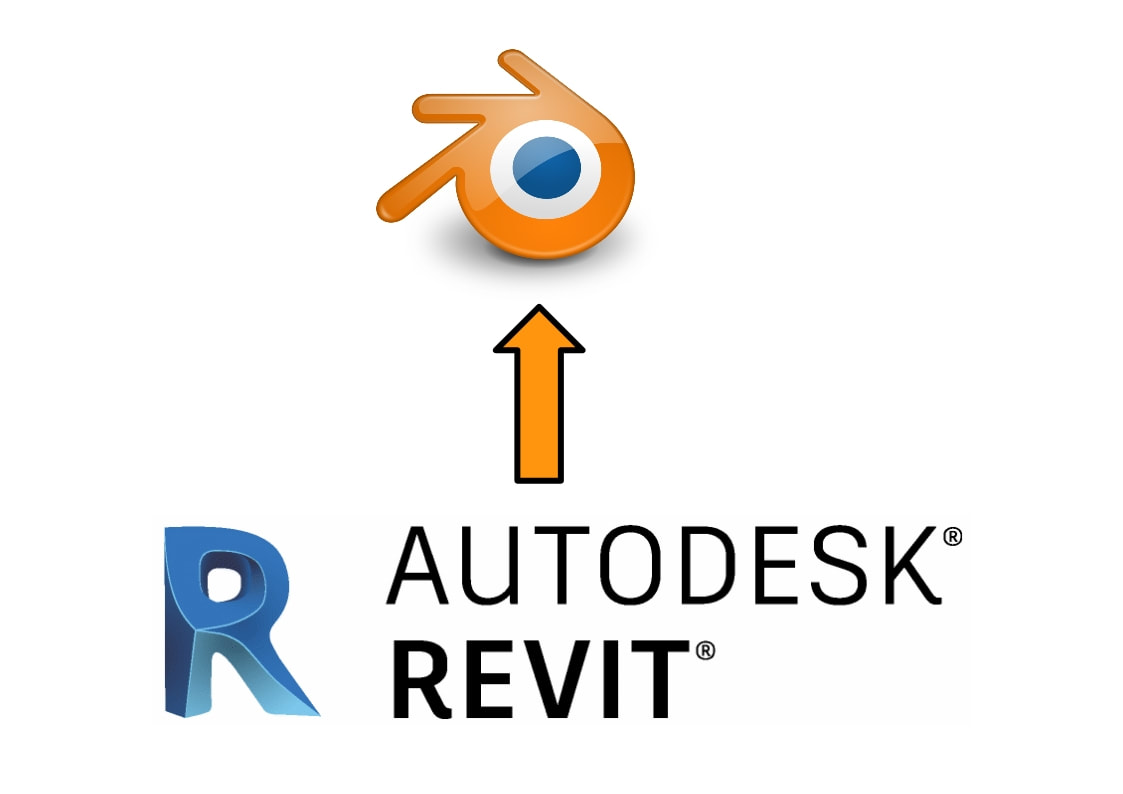
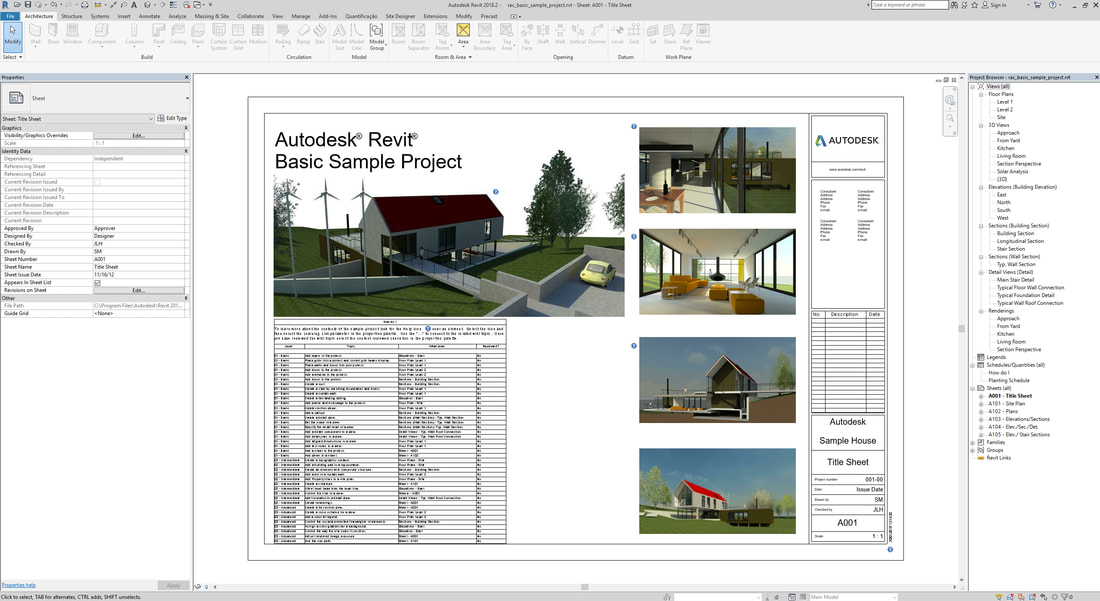
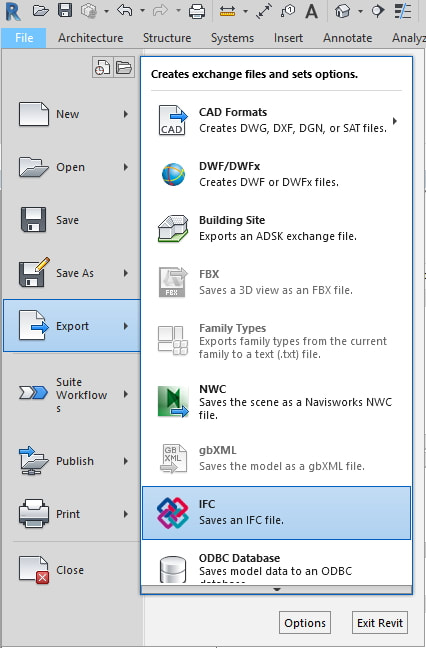
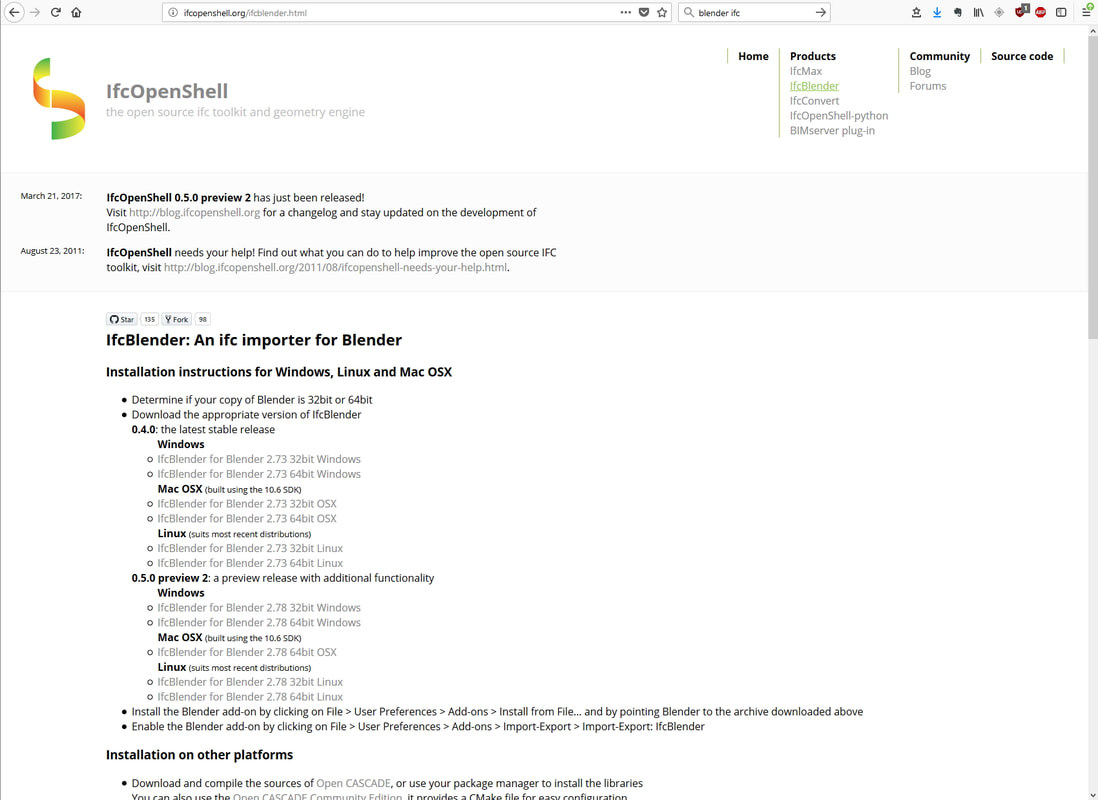
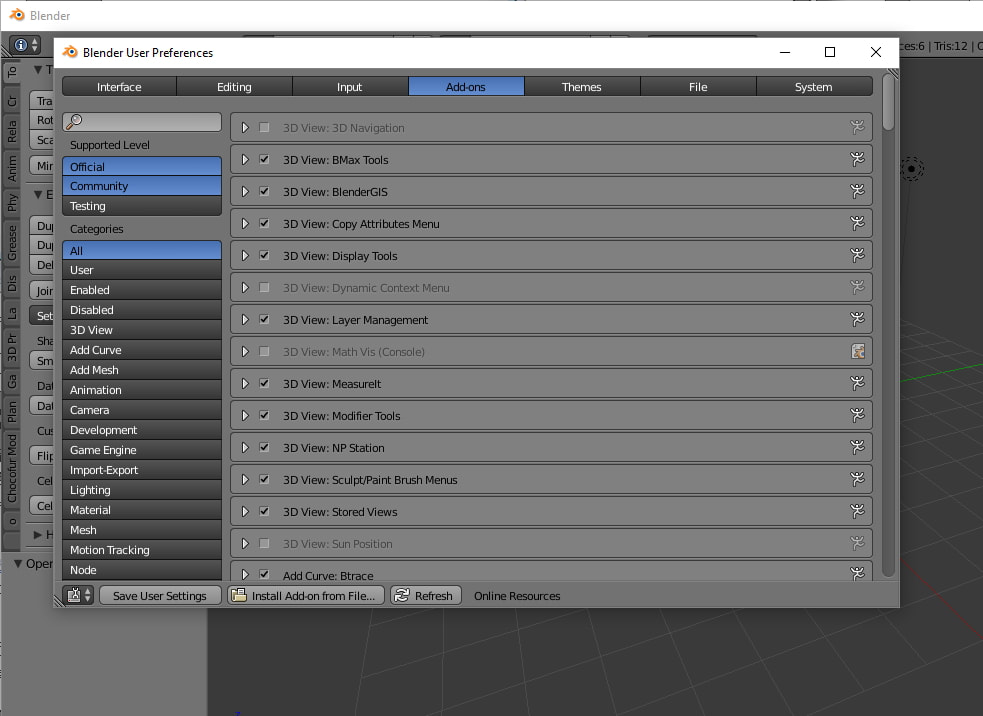
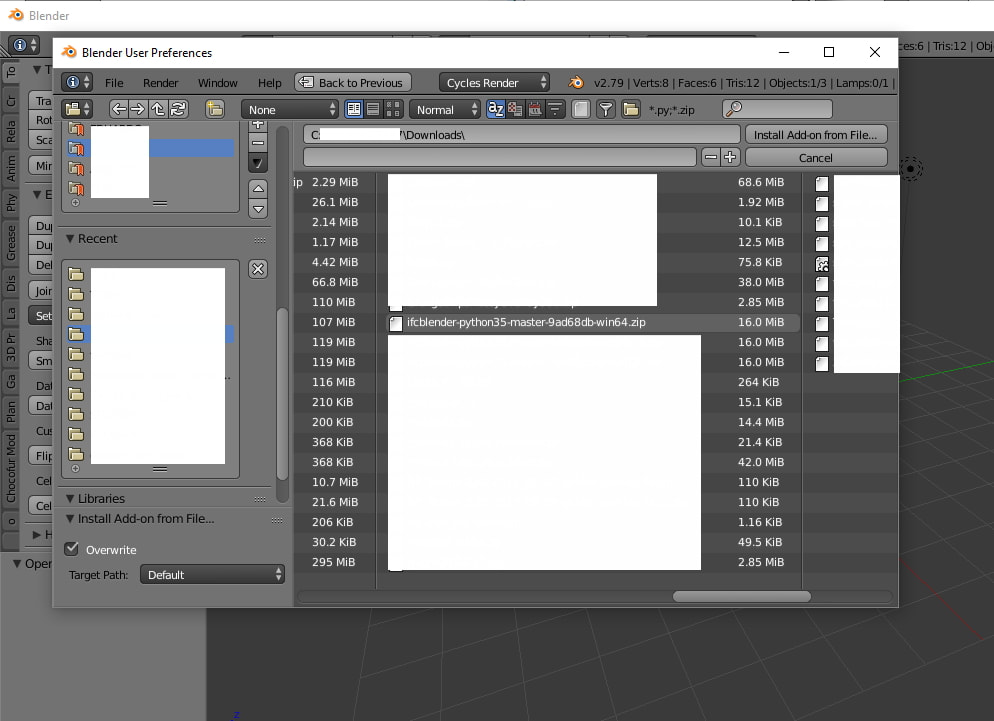
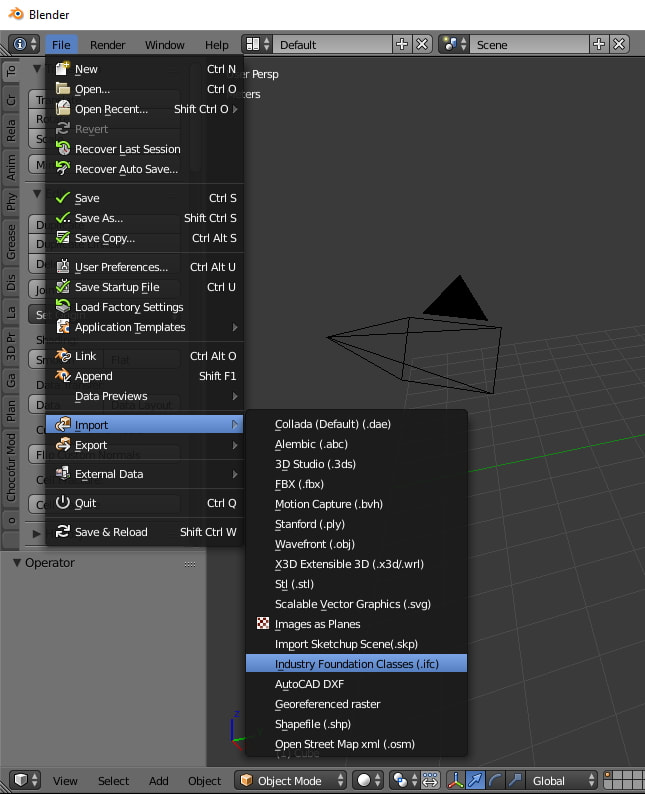
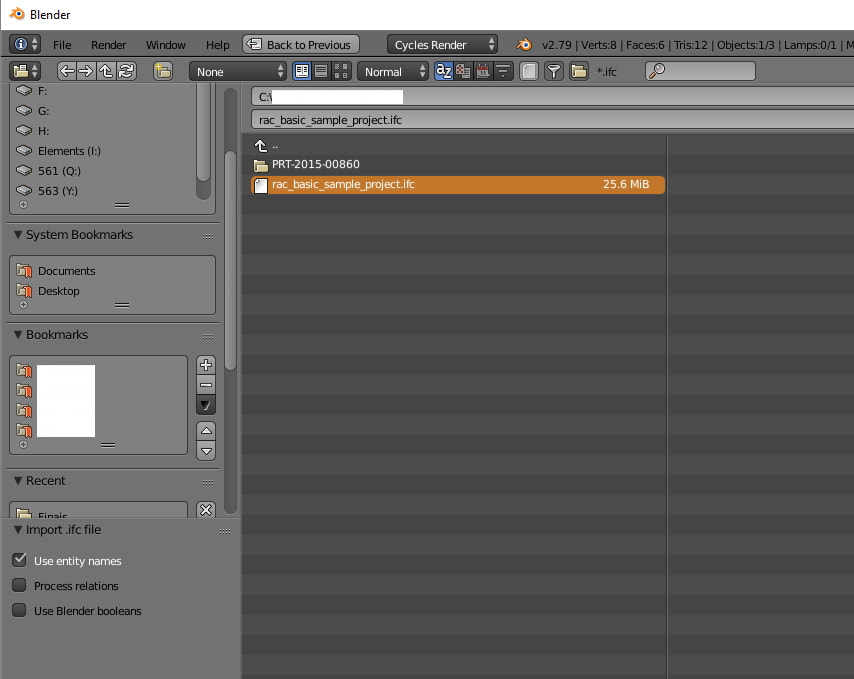
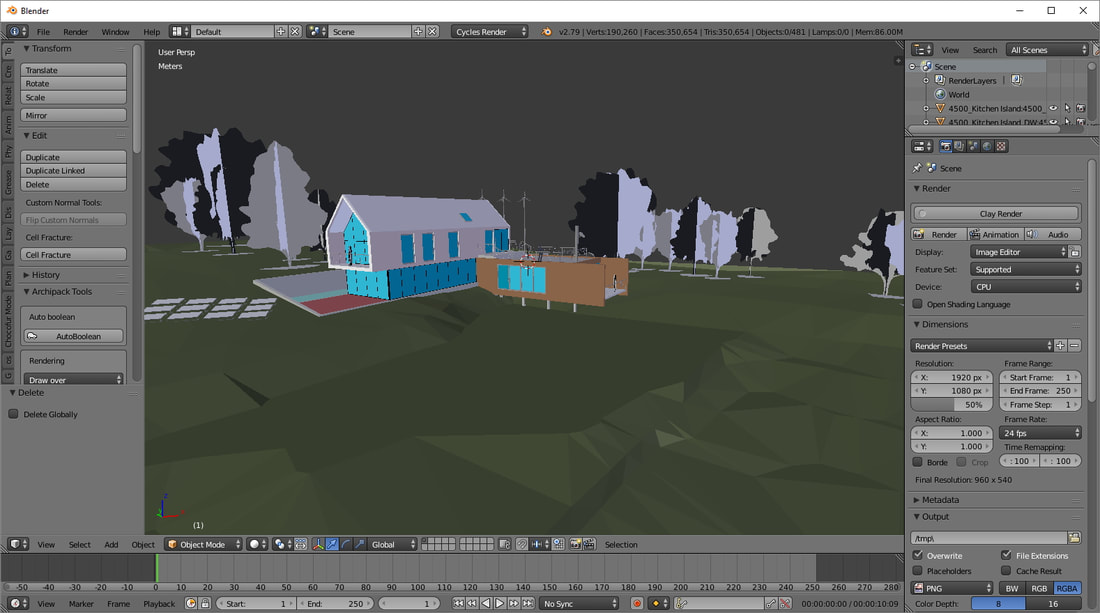
More and more people are shifting towards BIM software and Revit from Autodesk is one of the most used. Revit among architects is much more common these days, and it makes everyone’s job easier including 3D artists. Here's how to get a model from Revit into Blender in 4 steps. Step 1 - Export From Revit In Revit go to the file menu: Export>IFC>Give File a Name>SAVE The default settings will work just fine. Step 2 - Get the IfcBlender import addon Go to the IfcOpenShell page and download the latest IfcBlender importer for your corresponding Operating System. I used the 0.5.0 preview 2 because it was the one that gave my the best import results. Step 3 - Install Addon Just install it has you do with any other addon. Now in Blender you have the option to import the IFC file. Step 4 - Import IFC file Navigate to where you have the file and start the import. Depending on your project size it will take some time. There you have it. A Revit model imported inside Blender for further developing the Architectural Visualization for a client. Anyone with other opinions/easier way, please let me know!
Why did we made ArchVizBlender?
The simple answer is that we needed a portfolio site for our work done in Architectural Visualization but also because we needed the site to save some useful information for us to use in the future. Then the question arises: If we need a repository of information maybe there are other people that also need it. Then I remember when I started almost 15 years ago in 3D and all my search for knowledge. I wished that at the time there was a place with all the information that I needed and saved me years of blind search in the internet. That was what made me make this site. I hope this can help out people starting out in ArchViz and more important starting in Archviz with Blender because there's all kind of information about Architectural Visualization with 3Dsmax but very little on how to best use Blender in this field. |
Autor
Eduardo Câmara Historic
Maio 2023
categories
|


 Feed RSS